My Productive Terminal Environment with Kitty, Oh My Zsh, and TMUX
For years, I just used whatever default terminal came with my system — I didn’t realize that was like developing on Bloc-notes. Once I discovered Kitty, Oh My Zsh, and Tmux, everything changed.
1. Kitty

GPU-Based Terminal Emulator
Kitty is considered a Tier S terminal emulator by many die-hard terminal fans, groupies, or nerds, or whatever you want to call them.
Kitty uses a terminal graphics protocol to render images directly in the terminal.
How to install Kitty?
- Official Prebuilt (Recommended)
Works on Linux, macOS, Windows (via WSL or native).
curl -L https://sw.kovidgoyal.net/kitty/installer.sh | sh /dev/stdinln -s ~/.local/kitty.app/bin/kitty ~/.local/bin/kitty - Linux Package ManagersUbuntu/Debian:
sudo apt install kittyFedora:sudo dnf install kittyArch/Manjaro:sudo pacman -S kittyNote: Package manager versions may not be the latest. - macOSHomebrew:
brew install --cask kittyMacPorts:sudo port install kitty - WindowsWSL: Use Linux method inside WSL Native: Download .exe from Kitty website
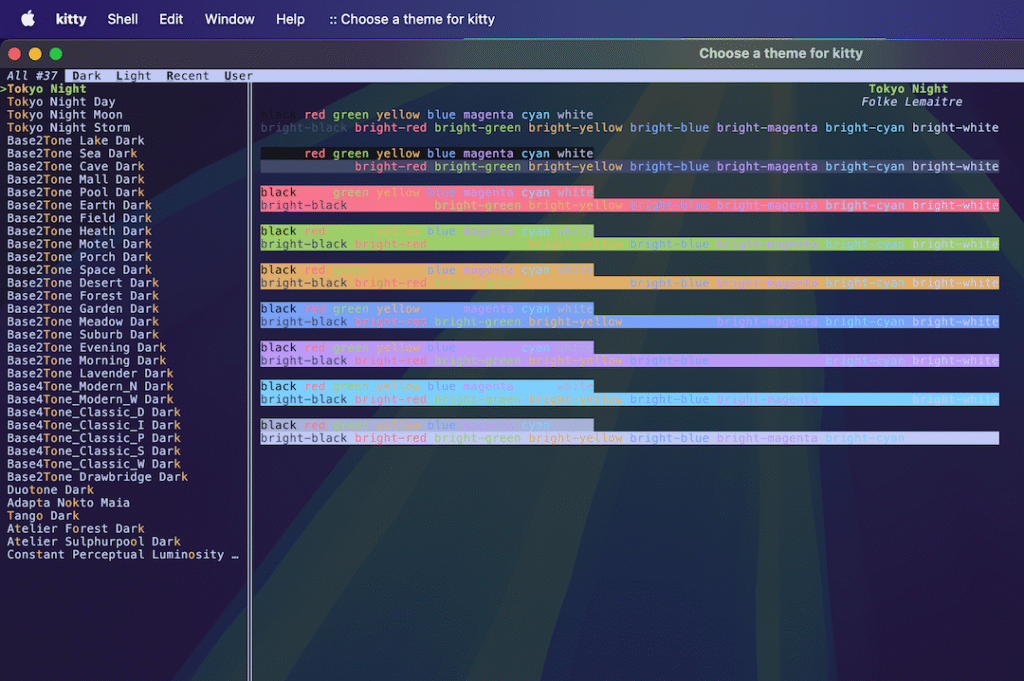
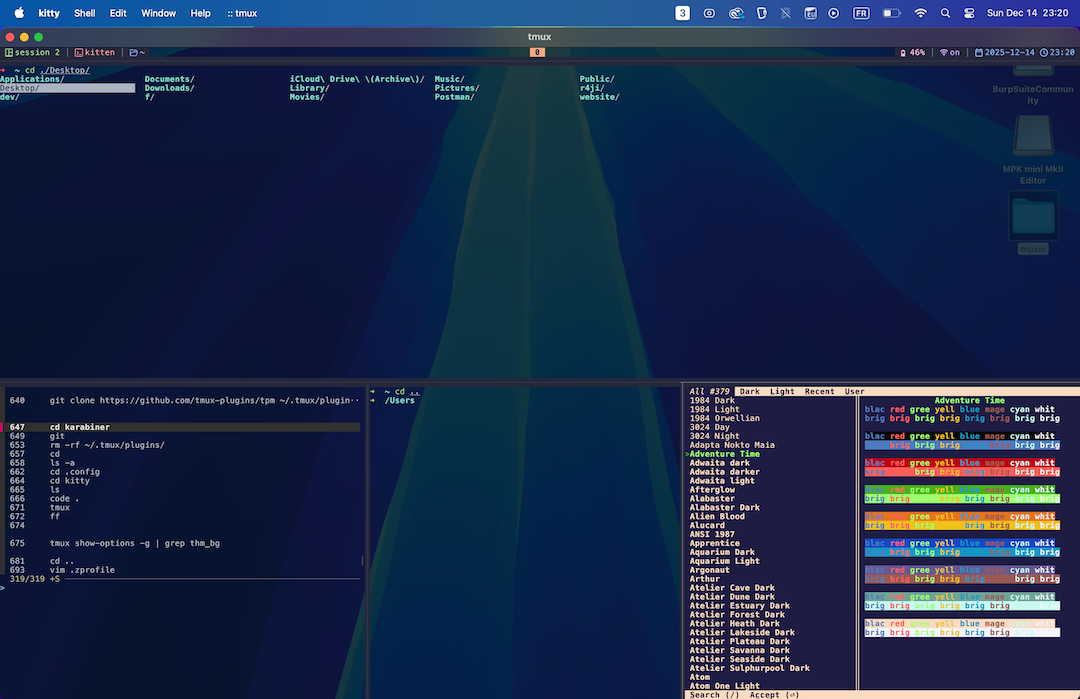
kitten theme. You can use / to search for a specific theme, then press Enter, and then select the desired theme. 2. Oh My Zsh
Oh My Zsh is a popular framework for managing your Zsh configuration, offering themes, plugins, and features that make your terminal more powerful and fun to use.
How to install Oh My Zsh?
Run:
sh -c "$(curl -fsSL https://raw.githubusercontent.com/ohmyzsh/ohmyzsh/master/tools/install.sh)"
Or, if you prefer wget, use:
sh -c "$(wget https://raw.githubusercontent.com/ohmyzsh/ohmyzsh/master/tools/install.sh -O -)"
Once installed, Oh My Zsh will set Zsh as your default shell and create a ~/.zshrc configuration file.
To enhance your terminal, you can add plugins to your ~/.zshrc file under the plugins=(...) section. Recommended plugins are:
zsh-autosuggestions: suggests commands as you type by displaying faded grey inline predictions based on your command history and common patterns. It significantly speeds up workflow by allowing you to accept suggestions instantly with theright arrowkey, reducing typing effort and preventing repetitive command input.zsh-syntax-highlighting: highlights commands and arguments in real time, giving visual cues about correctness. Valid commands turn green, unknown ones turn red, and flags, strings, paths, and environment variables receive their own colors. This prevents accidental mistakes, typos, and harmful commands before you press Enter.zsh-completions: adds a massive collection of extra autocompletion rules for tools not covered by default Zsh completions. PressingTabbecomes far more useful, revealing subcommands, flags, and context-aware arguments that make CLI usage much faster.autoenv: automatically loads environment-specific settings when entering a directory by reading its.envor.autoenvfile. This is ideal for project-based setups such as adjusting PATH values, exporting variables, enabling virtual environments, or preparing development tools. For security, it asks for confirmation on first use to trust each directory’s environment script.
For history search with FZF, add the following to your ~/.zshrc:
source /usr/share/fzf/key-bindings.zsh
Then bind Ctrl + R to fzf-history-widget to interactively search through your command history.
Oh My Zsh comes with many themes. To set one, open ~/.zshrc and change the ZSH_THEME variable, for example:
ZSH_THEME="robbyrussell"
After changing your theme or plugins, reload Zsh to see the changes:
source ~/.zshrc
2. TMUX
TMUX is a terminal multiplexer. It lets you switch easily between several programs in one terminal, detach them (they keep running in the background).
Our goal here is to always use one and only one desktop for your terminal.
How to install TMUX?
On macOS (using Homebrew):
brew install tmux On Windows (using Windows Subsystem for Linux, WSL):
Open your WSL terminal (Ubuntu recommended)
Run:
sudo apt update && sudo apt install tmux On Ubuntu / Debian-based Linux / Windows (using Windows Subsystem for Linux, WSL):
Open your WSL terminal (Ubuntu recommended) in Kitty
Run:
sudo apt update && sudo apt install tmux My TMUX configuration
~/.config/tmux/~/.tmux/plugins/tpm is empty to avoid any issues when cloning GitHub projects.tmux source-file ~/.config/tmux/tmux.conftmux